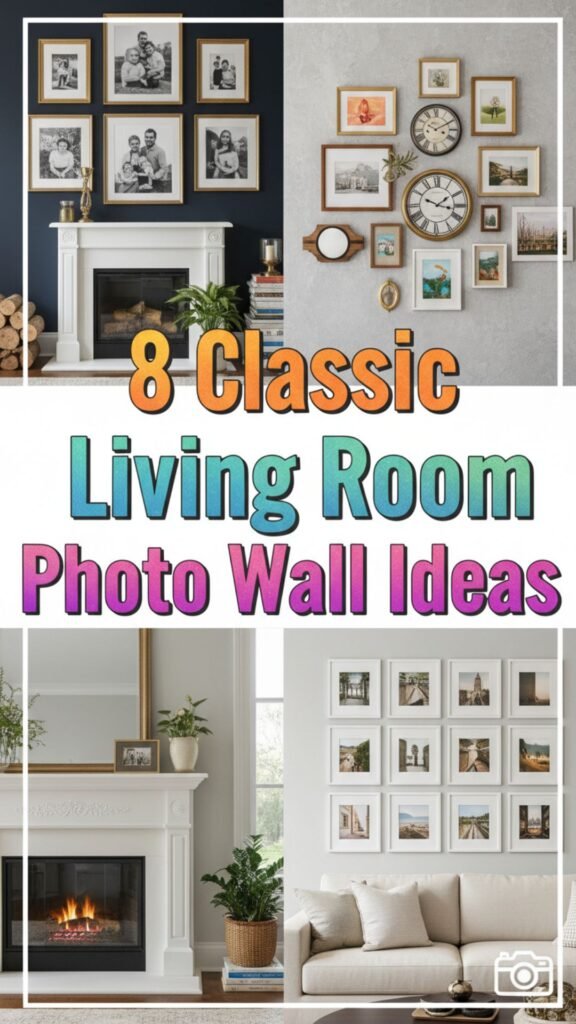
A blank wall offers the perfect opportunity to showcase your personal style and memories. Creating a photo wall can instantly elevate your living area, turning an empty space into a sophisticated focal point.
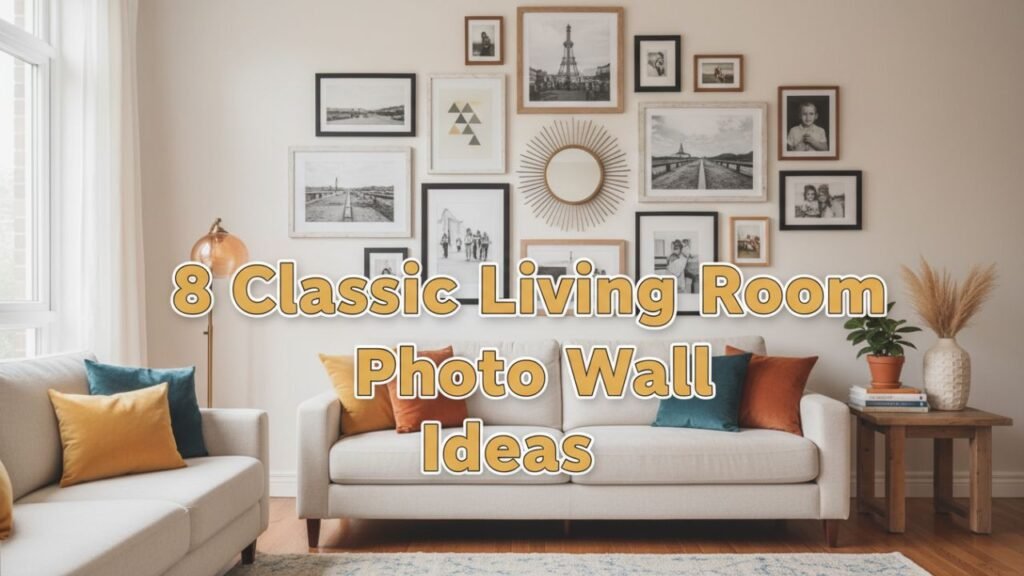
Whether you prefer clean lines or a curated mix of vintage finds, the right arrangement brings warmth and character to your home. Here are eight timeless ideas to help you design a stunning display.
1. The Symmetrical Grid
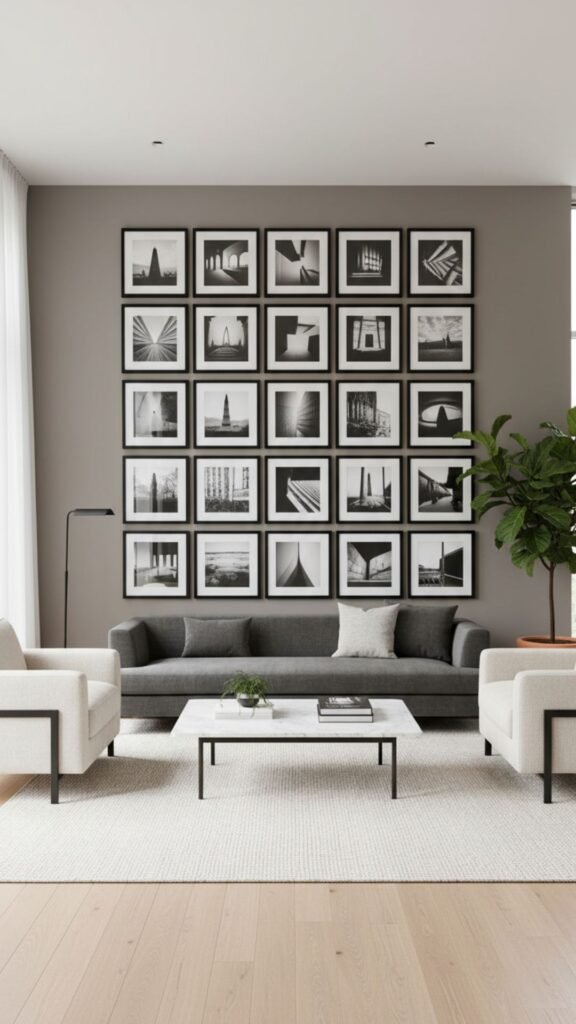
A symmetrical grid arrangement offers a clean, highly organized appearance. This style works exceptionally well in modern or traditional spaces, bringing a sense of order and calm to the room. Using identical frames with matching mats creates a cohesive, gallery-like finish that draws the eye without overwhelming the space.
Steps To Achieve The Look:
- Select identically sized frames, preferably in a solid color like black or wood.
- Choose high-contrast photos, such as black-and-white portraits or architectural prints.
- Measure carefully to ensure exactly two inches of space between every frame.
2. Black and White Elegance
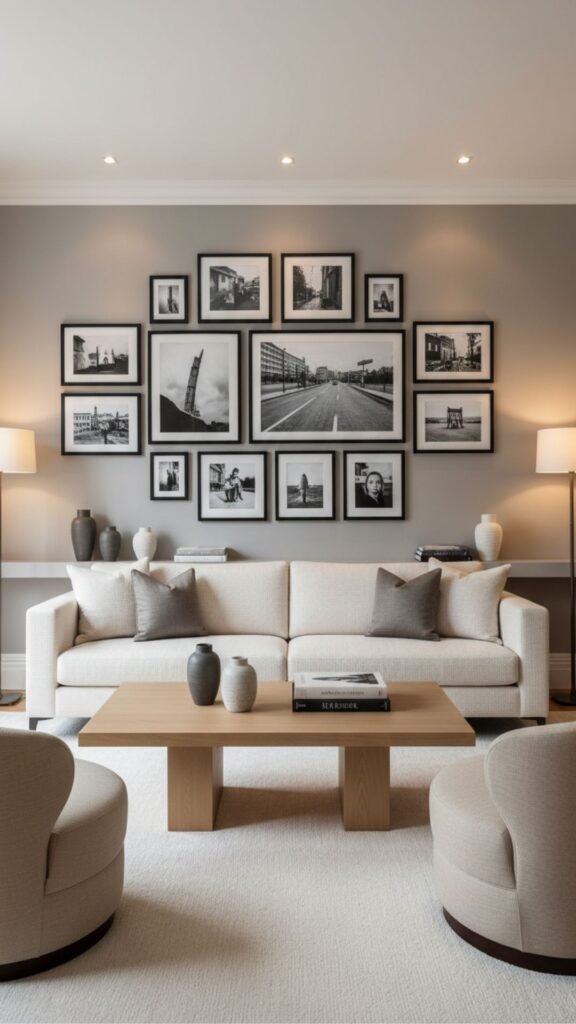
Removing color from your photographs unifies diverse subjects and time periods. A black and white photo wall exudes timeless elegance, blending seamlessly with any existing color palette in your living room. It allows the viewer to focus on emotion, texture, and composition rather than competing hues.
Steps To Achieve The Look:
- Convert all your chosen images to black and white or sepia tones.
- Use simple, sleek frames to keep the attention on the photography.
- Mix different sizes, but maintain a consistent spacing around the central piece.
3. Mixed Metallic Accents
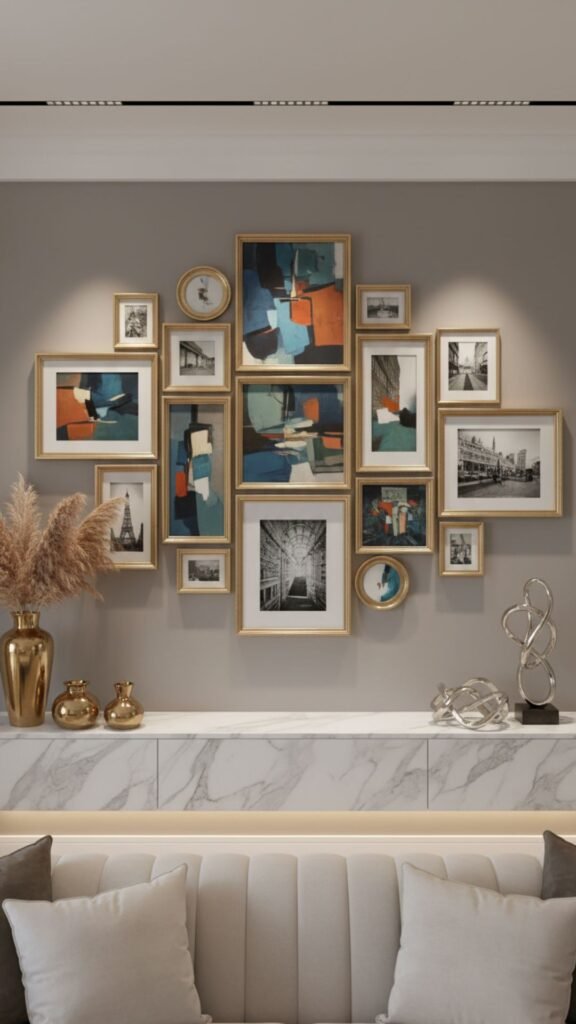
Incorporating various metallic finishes adds a touch of glamour and depth to your walls. Combining gold, silver, and brass frames catches the light beautifully and adds a subtle luxury to the room. This approach feels curated and collected over time, rather than bought all at once.
Steps To Achieve The Look:
- Gather frames in two or three different metallic finishes.
- Balance the distribution of colors so one metal doesn’t dominate a single corner.
- Include a mix of mirrors or small metallic wall sculptures among the photos.
4. The Vintage Gallery
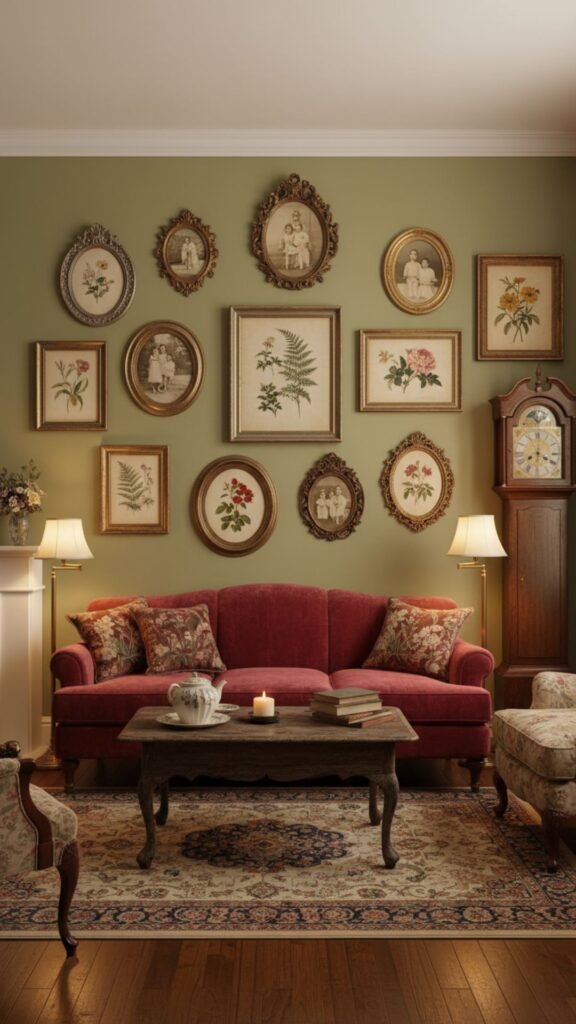
A vintage gallery wall embraces nostalgia by mixing antique frames, heirloom photos, and classic art prints. This eclectic style adds immense character and a sense of history to your living space. The charm lies in the imperfections and the unique story each piece tells.
Steps To Achieve The Look:
- Source ornate, carved wood, or distressed frames from thrift stores.
- Mix old family photographs with classic botanical prints or landscape paintings.
- Arrange the pieces organically, starting from the center and working outward.
5. The Floating Ledge Display
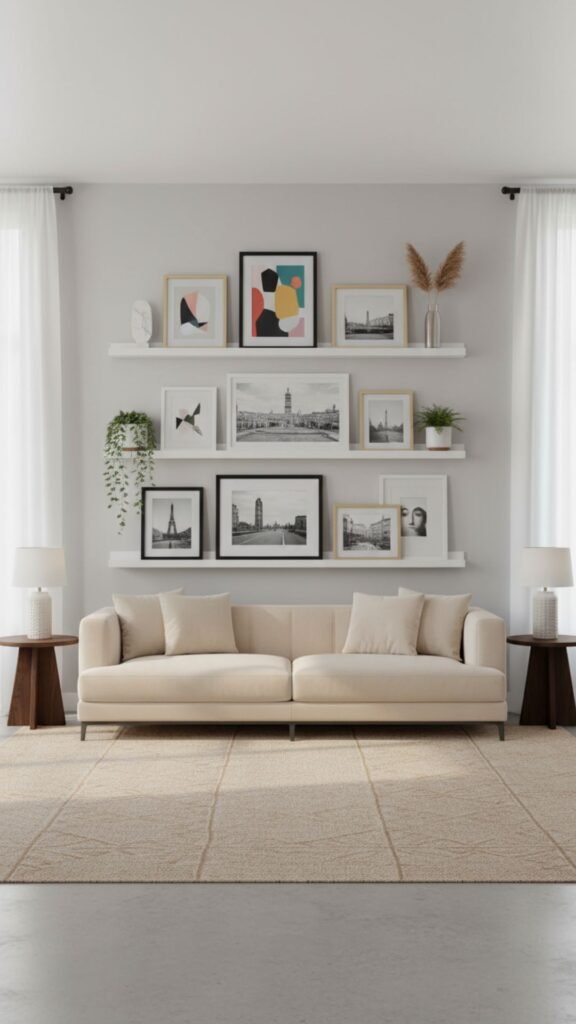
Using picture ledges offers flexibility, allowing you to swap out artwork whenever the mood strikes without making new holes in the wall. This layered approach feels casual yet intentionally styled. It brings a modern, studio-like vibe to the living room.
Steps To Achieve The Look:
- Install two or three floating shelves aligned vertically on the wall.
- Lean frames of varying heights against the wall, overlapping them slightly.
- Intersperse small potted plants or decorative objects among the frames.
6. The Minimalist Trio
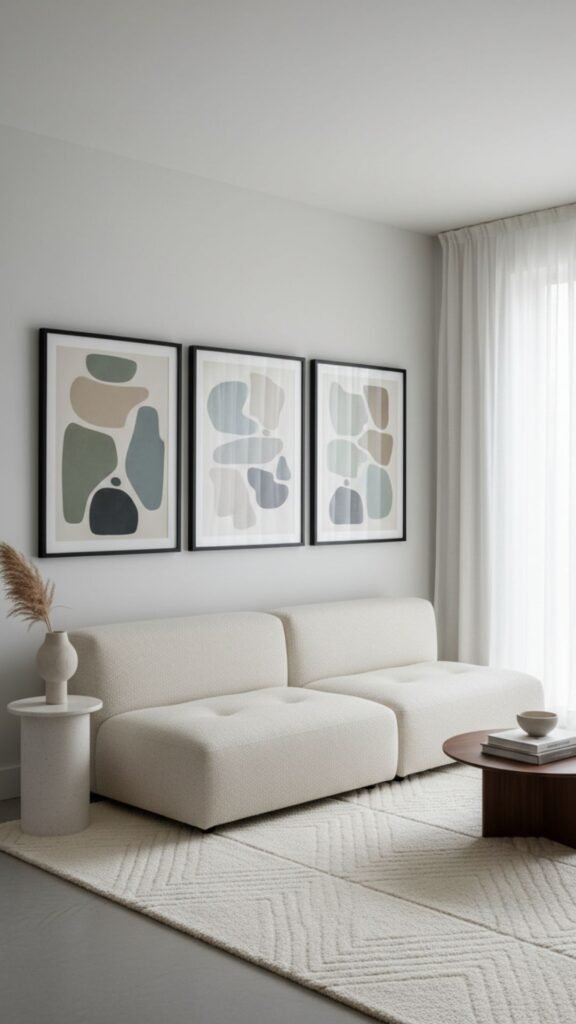
Sometimes, less is incredibly impactful. A minimalist trio uses three large, evenly spaced frames to make a bold statement. This streamlined approach fills a large wall horizontally, typically above a sofa, providing a serene and uncluttered aesthetic.
Steps To Achieve The Look:
- Choose three oversized frames with large white mats.
- Select a single image split into three panels (a triptych) or three visually related photos.
- Hang them at eye level, spacing them evenly above your main seating area.
7. Floor-to-Ceiling Statement
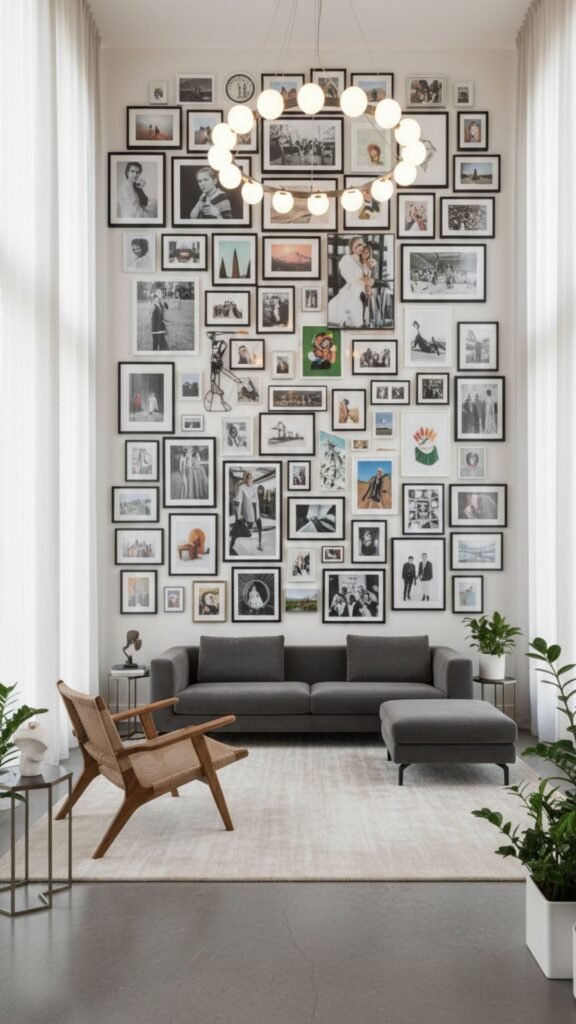
Maximize your vertical space by extending your photo wall from just above the baseboard right up to the ceiling. This dramatic technique draws the eye upward, making the room feel taller and more expansive. It is an excellent way to display a large collection of beloved memories.
Steps To Achieve The Look:
- Start hanging frames from the middle of the wall and expand upward and downward.
- Use a mix of frame sizes to keep the massive display visually interesting.
- Ensure the bottom frames are securely fastened so they aren’t easily knocked into.
8. The Corner Wrap
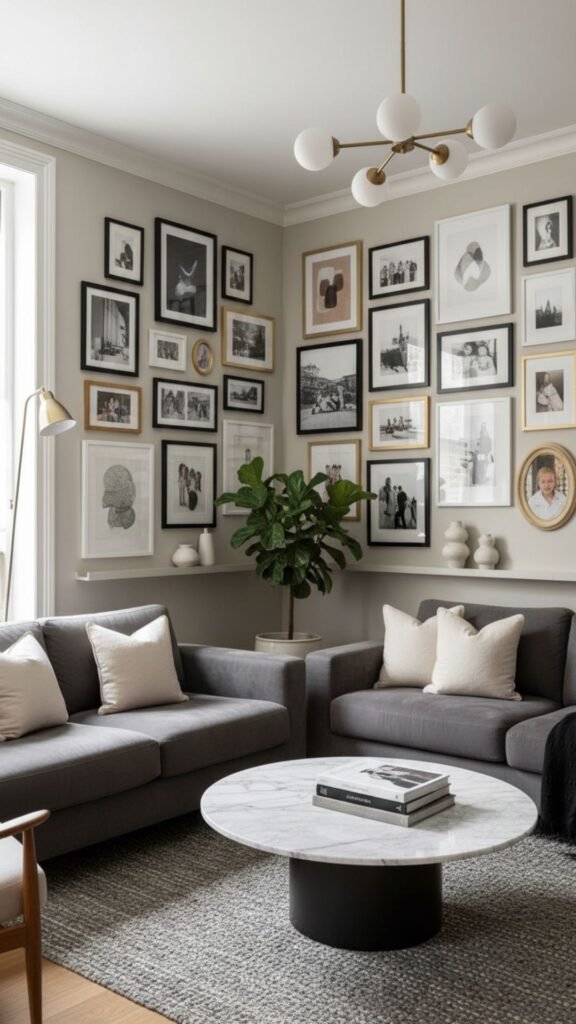
Don’t let room corners interrupt your design. Wrapping a photo wall around an interior or exterior corner creates a dynamic, wraparound visual experience. It connects two separate walls, making the living area feel cohesive and thoughtfully designed.
Steps To Achieve The Look:
- Plan your layout on the floor first, treating the two walls as a single canvas.
- Place a few prominent frames right near the crease of the corner to anchor the look.
- Maintain consistent spacing as the arrangement transitions from one wall to the other.
Bring Your Walls to Life
Designing a classic living room photo wall is a rewarding project that personalizes your home. By choosing a layout that complements your decor and filling it with images you love, you create a space that is uniquely yours. Gather your favorite prints, pick your frames, and start transforming your blank walls today.
Frequently Asked Questions (FAQs)
1. How high should I hang my photo wall?
Start by positioning the center of your arrangement at eye level, which is generally about 57 to 60 inches from the floor. If you are hanging frames above a sofa, leave at least 6 to 8 inches of clearance between the top of the furniture and the bottom of the lowest frame.
2. What is the best way to plan the layout before making holes?
Trace your frames onto craft paper, cut them out, and use painter’s tape to arrange the templates on the wall. This allows you to step back, adjust the spacing, and perfect the design before using a hammer and nails.
3. Do all the frames need to match?
Not at all. Matching frames create a formal, organized grid, while mixing frame styles, colors, and textures results in a more eclectic, cozy gallery look. Choose the approach that best fits your room’s overall aesthetic.
4. How far apart should I space the frames?
For a tight, cohesive look, space frames about 2 to 3 inches apart. Ensure the spacing is consistent throughout the entire arrangement to keep the display looking intentional and balanced.
5. Can I mix photos with other types of art?
Yes, incorporating paintings, typography, mirrors, or small wall hangings among your photographs adds rich texture and visual interest to the wall.